Starting from a template
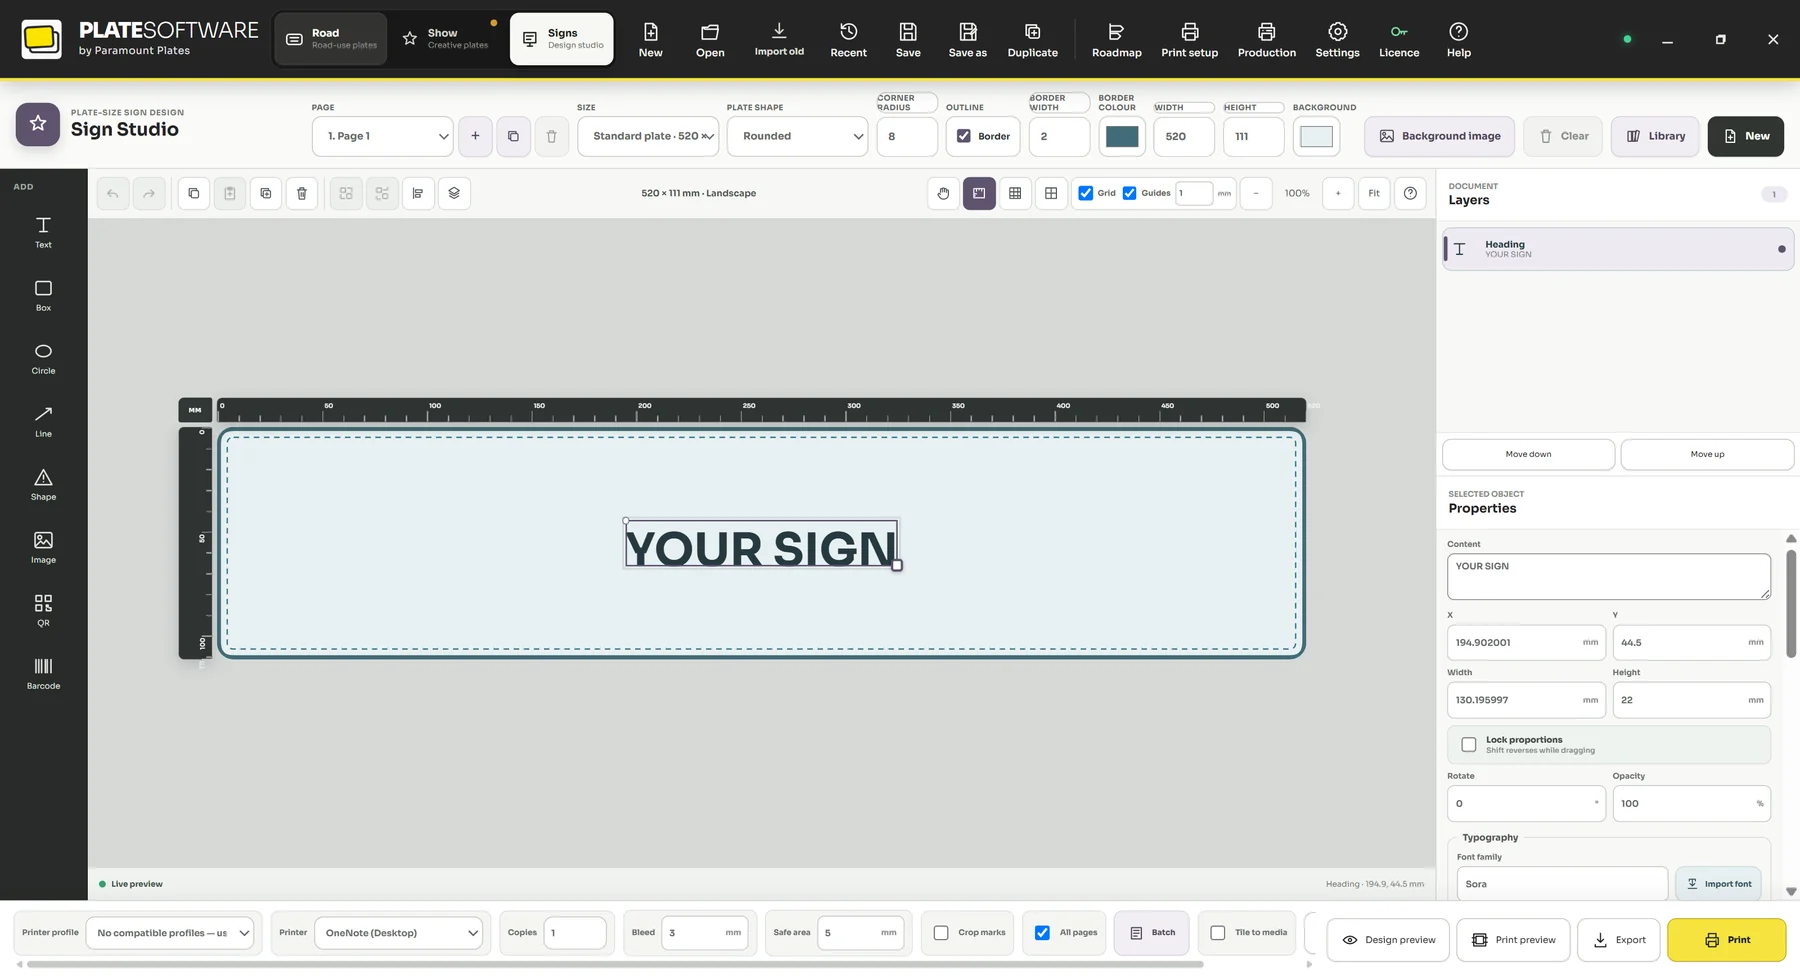
- Open the Signs workspace.
- Click Library and choose a starter template — safety, workshop, parking or information.
- Click Use template to load it onto the canvas.
- Select the text and replace it with your own wording.
- Adjust Size, Plate shape, Corner radius and Border to suit the job.

Worth knowing. Starter artwork is editable and is not certification that a finished sign meets any legal, safety or accessibility standard.
Starting from nothing
- Click New and set the canvas Width and Height in millimetres.
- Add elements from the tool rail: Text, Box, Circle, Line, Shape, Image, QR or Barcode.
- Turn on Grid and Guides, and set the snap distance, to keep everything aligned.
- Use the rulers around the canvas to position elements precisely.
Did this not answer your question? Email support@platesoftware.co.uk and tell us what you were trying to do.