
What this controls
The supplying-outlet marking that appears along the bottom of every road-use plate you produce, together with the British Standard reference.
Set it once. Every new road plate picks it up automatically, so it is one less thing to get wrong on a busy afternoon.
Setting your details
- Open Business from the top bar.
- Enter your Outlet name and Postcode. The Current marking line shows exactly what will print.
- Open Supplier marking style to change how it looks.
- Choose an Outlet font and a Postcode font from the typefaces installed on the computer.
- Set Postcode placement — beside or below the outlet name.
- Leave Border opening ticked so the border breaks cleanly around the text, and set the Gap padding either side.
- Use Fine position to nudge the marking, then Done.
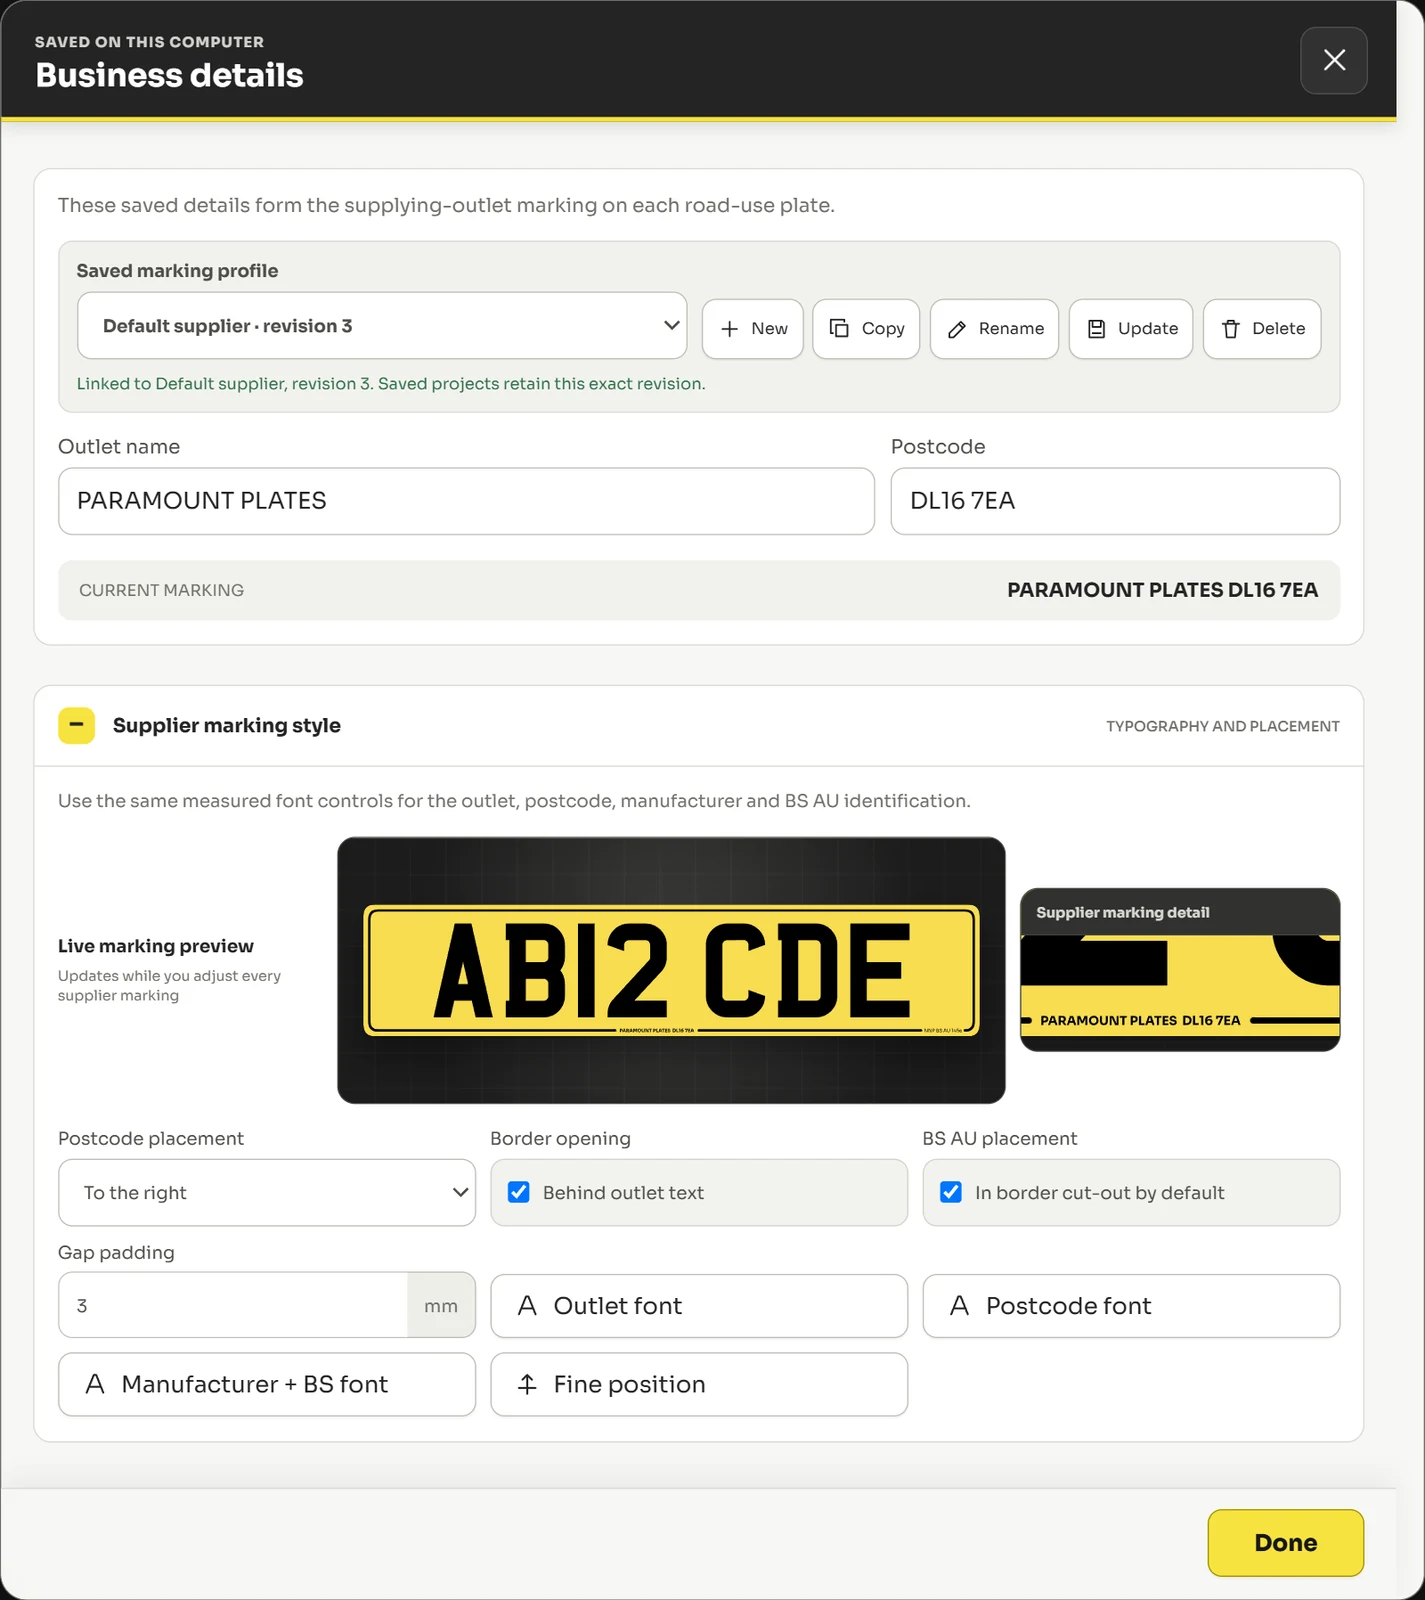
Worth knowing. The live marking preview updates as you type, so you can see the result before printing anything.
The British Standard reference
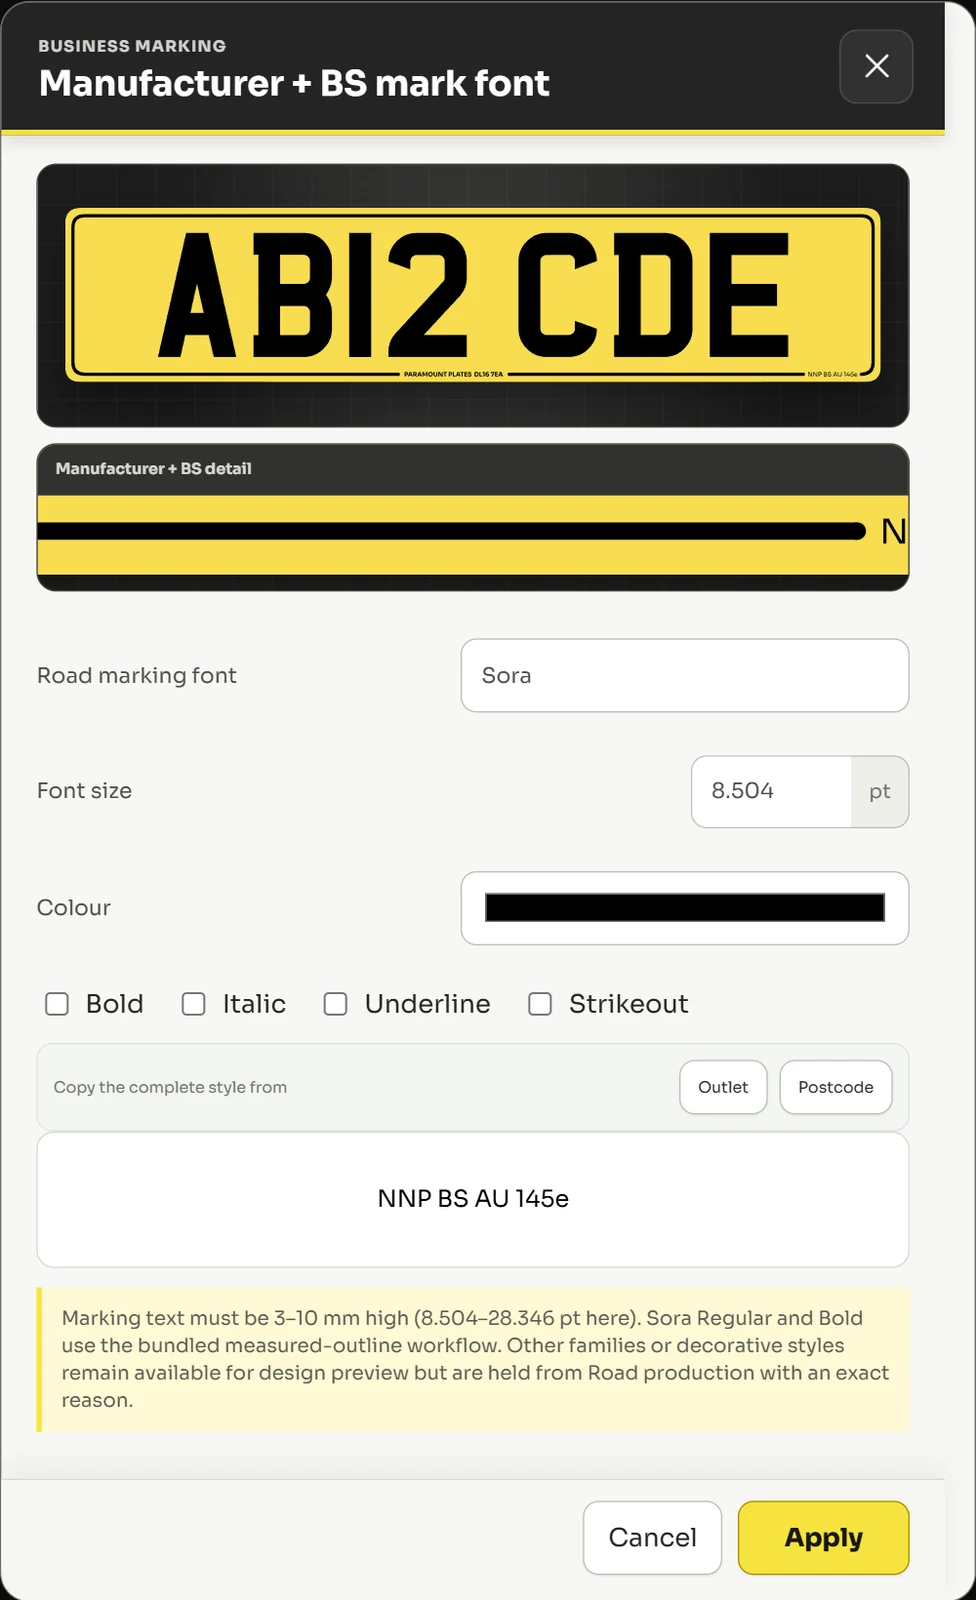
The BS AU 145e reference and component manufacturer are set per plate in Options, under Required markings, so a job printed on different stock can carry the correct reference.
The typeface, size and colour of that marking are set in the same place as the outlet marking, with the same live preview.
Did this not answer your question? Email support@platesoftware.co.uk and tell us what you were trying to do.