
The border
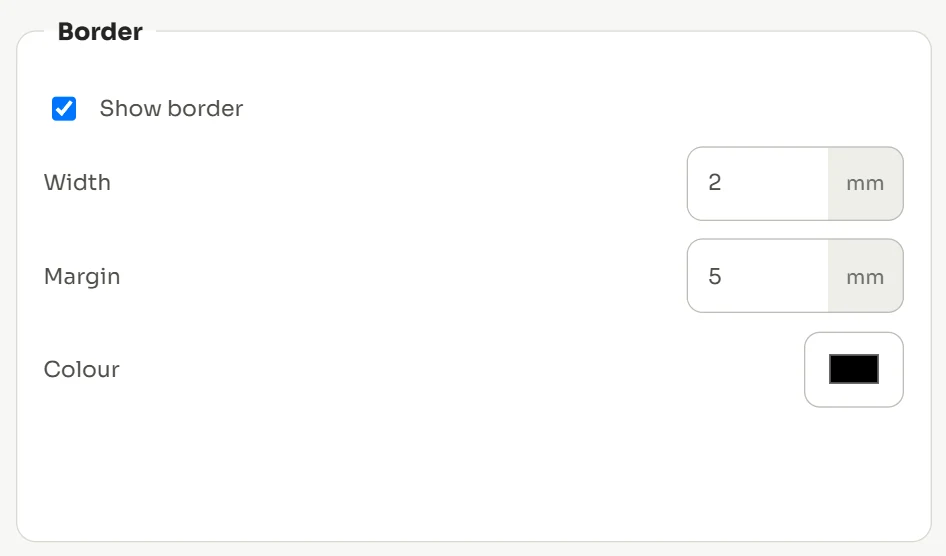
- Tick Border above the canvas to show it.
- Open Options and set Width and Margin in millimetres under Border.
- Set the border Colour if the job calls for something other than black.
National identifiers
- In Options, open National display.
- Choose a Media mode — no identifier, printed, or pre-printed flag stock you already hold.
- Pick the Emblem and the Letters beneath it.
- Set the Artwork width so the band matches the media you are using.
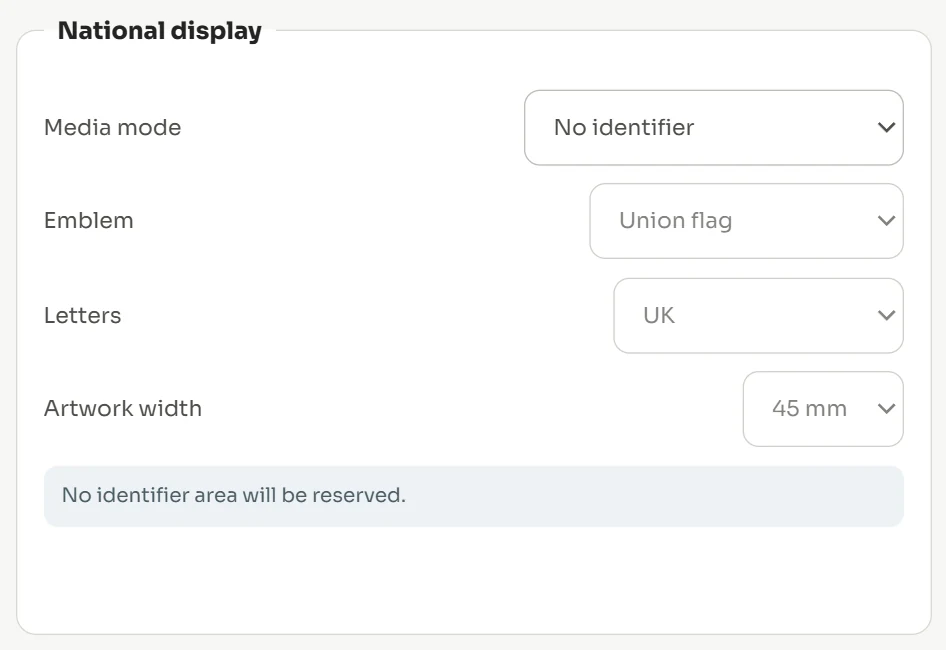
Worth knowing. Choosing pre-printed media reserves the space rather than printing over it, so the artwork on your stock stays clean.
Zero-emission green flash
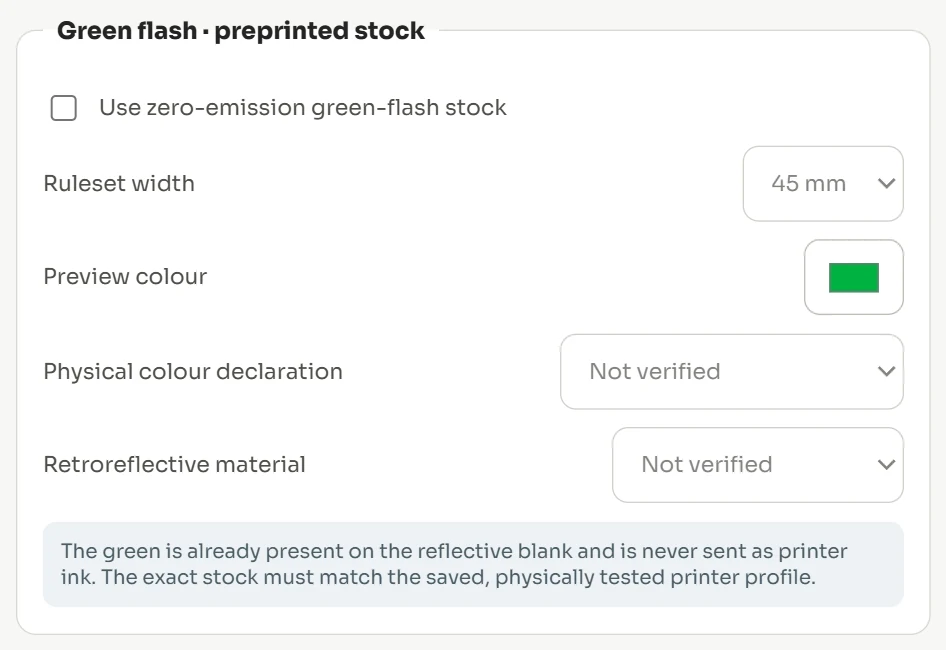
- In Options, open Green flash.
- Tick Use zero-emission green flash.
- Set the Ruleset width to match your stock and check the preview colour.
Did this not answer your question? Email support@platesoftware.co.uk and tell us what you were trying to do.